aka "so, you want to write a game, do you?"
© 2008 PeeJay
© 2008 PeeJay
// --------------------------------- //
// Project: Lesson One
// Start: Friday, February 01, 2008
// IDE Version: 5.154
// --------------------------------- //
the // tells GL to ignore what comes next - it used to be known as a REMark - it is handy for making notes to yourself.
SETSCREEN 640,480,1this tells GL to set the screen resolution to 640 x 480 and full screen running - that can all be altered (see the help for more details). Note, the demo version of GL will only allow a maximum size of 640 x 480.
LIMITFPS 60Here is a very useful command for adding a speed limit to your game. In order to stop games running too fast on powerful computers, we can tell GL how many times to update the screen - in this instance, 60 frames per second. Don't worry if the game is running on a really slow machine - it will still work okay - it merely acts as a speed limit, so the game will go no faster than this speed. You can also forget about these 2 commands and just open the menu "Project/Options" and set the startup screen size and refresh rate in a dialog. Now for a trickier one:
SETTRANSPARENCY RGB(0,0,0)This tells the computer that for the next graphics we load into the program (sprite of font - see later), that the colour with Red, Green and Blue values of (0,0,0) - ie, black, will be transparent. This means that when we draw them on the screen, we will be able to see the background through any black pixels. GLBasic by default has this set to RGB(255,0,128) for sprites and RGB(0,0,0) for fonts.
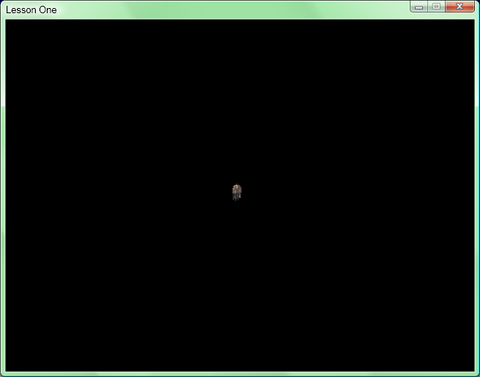
LOADSPRITE "player.bmp",0Now we load the graphic into memory, in this case, it is a small picture of a man. Around the man is black, so this will not be drawn. Note, at this stage, we are not drawing the man - just loading it into memort ready to be drawn. We have given it a number - 0 - so from now, if we draw sprite 0, it means that image.
GLOBAL px=300
GLOBAL py=220
Now, because we want our player to be able to move around the screen, we must be able to keep track of where on the screen he is. So, we will call the co-ordinates px and py (for player x position on screen and player y position.) Now the next line is trickier, it is the start of a WHILE ..... WEND loop. We have the command
WHILE KEY(01)=FALSEIt is pretty much self explanatory. Given it is the start of a loop, it is marking the start of the loop and will continue the loop until KEY(01) is true. KEY detects keypresses on the keyboard, and, if you check the keycodes utility in the tools part of the IDE, you will find that 01 is the Esc key. So, it is literally saying, start a loop, and continue to loop back to here until the user presses the Esc key, then jump out of the loop. Easy, huh? So, what comes next?
DrawTheScreen()Aha - this isn't a command. This is actually calling the function that will be written - functions are a subroutine that can be called at any time. You can also pass variables to, and get information sent back from functions - but more on that in a later lesson.
WENDThis marks the end of the loop, started with WHILE
ENDThis simply terminates the program. Now we come to the function itself - started with FUNCTION and finished with ENDFUNCTION
DRAWSPRITE 0,px,pyThis draws the image stored in sprite number 0 at the co-ordinates px along the x axis, and py along the y. Note, the x axis is horizontal, and starts at 0 for the extreme left. The y axis is vertical, and starts at 0 for the very top.
SHOWSCREENBut hold on, haven't we just drawn the picture? Why do we now need to tell the computer to show the picture? Well, this is because GL Basic uses a system called "double buffering" - what it actually means is that when you draw a picture, it is drawn to an "invisible screen" (the backbuffer) and you can't actually see it until you show the back buffer (move it to be the front buffer, hence the term double buffering.) You might be wondering what the point is of doing that. Well, since displaying the back buffer is instant, but if you have a lot of things to draw, it may take a few milliseconds to draw them all, without using the back buffer, it is possible that the monitor would refresh it's picture halfway through you drawing your screen, and this leads to flicker. By using double buffering, it eliminates flicker. Do make sure, though, when you have finished drawing the objects on your screen, you use SHOWSCREEN - otherwise they will just be drawn to the back buffer, and you won't see anything!